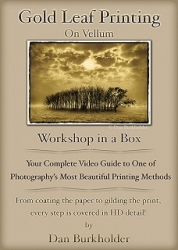
By: Dan Burkholder
Late in 2007 I was feeling antsy after a long binge of inkjet printing. I'd just finished a color project that was presented strictly as larger inkjet prints. The project was rewarding and the prints looked great but a change-of-gears was definitely in order. Hankering to get back into the darkroom, I also felt a nagging desire to take the handmade print in a different direction. For one, I wanted to counter photography's current trend toward "gigantism," in which every photographer with a spare $4,500 feels compelled to make huge photographs. The solution: make miniature prints, in the order of 4"x6". Secondly, I really wanted to make prints that didn't look like anything made with an inkjet printer, here again to buck the "can you make an inkjet print that looks like (fill in the blank)?" So just where did these two very different goals lead me photographically?
With a quarter century of platinum/palladium printing under my belt, I began to explore ways to combine yet another precious metal-gold, as it turns out-with the handcoated platinum/palladium print. Gold has a proud history in photography, having been used in toners and even as dust suspended in banana oil (behind glass positives) by Edward Curtis. Not wanting to reinvent the wheel, I started an exploration that culminated in a body of Platinum/Palladium over Gold Leaf on Vellum prints.
Starting with a thin, acid free vellum, I coat and expose the print pretty much like any other platinum/palladium print. Though I prefer glass rod coating for thicker papers, because the vellum puckers when it gets wet, a brush is a better choice for evenly spreading the liquid platinum/palladium sensitizer onto the vellum.
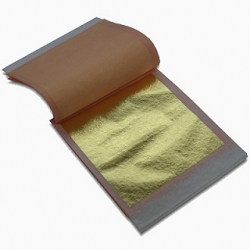
After the print is developed, cleared, washed, dried and flattened, the 24K gold leaf is applied to the back using an archival size. In the world of gilding, "size" refers to the adhesive that bonds the thin metal leaf to the substrate. Of course, since the viewing light passes through the vellum and the size on its way to reflect off the gold leaf, the size should be transparent as well as archival.
Now that you know that gold is on the back of the paper you'll have a better understanding of some of the particulars of preparing the negative. Because the gold leaf forms the brightest highlights in the image, the negative's contrast must be modified to provide rich shadows and glowing metallic highlights. Since I've been making digital negatives for 17 years, crafting a special gold curve in Photoshop was about as difficult as dropping a polarizing filter into the Grand Canyon. If you fail to make this contrast alteration in the digital negative, your print may have a dullness that compromises the glow of the gold leaf.

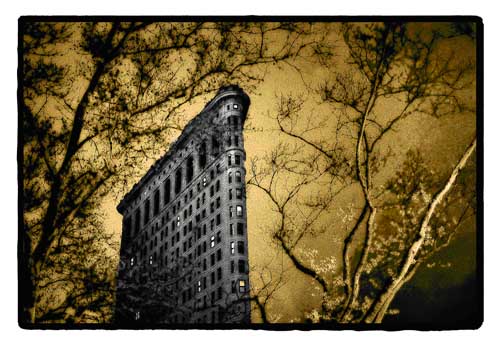
Photography's seemingly unlimited options have been a major tickle for practitioners since the medium took root 184 years ago. Discovering new ways to combine historic processes-like platinum/palladium-with yet another precious metal-gold leaf-is nothing short of thrilling. And to have such precise tonal control via a digital negative sweetens the process even more. But in the end it's the print that matters, and a platinum/palladium over gold leaf print literally shines with a elegance and beauty that is unique in the world of works on paper.