Of the creative darkroom techniques available, those in hand-coloring offer the photographer a greater range of individuality and expression than almost any other. Though not strictly a darkroom process, hand-coloring differs from processes like Bromoil in that the pigment is applied to a fully developed and visible image. Little, if any, preparation of the paper is needed. The medium (i.e. coloring agents) available span the gamut and include nearly everything a canvas painter might use, including watercolor, acrylic, oil, chalk pastel, oil crayon, pencil and more.
Here are some insights into this creative process and some suggestions on how to add hand-coloring to a black and white darkroom course.
Hand-coloring always opens the discussion between teachers and students on why have color in photos to begin with. The primary reason is that colors help convey feeling and emotion. The right color can accent or down-play certain elements. Make it a point to address the difference between hand-coloring and a color photograph. The former exercises the photographer's imagination and involves the photographer in making active choices for every element in the image. In comparison to a color image, hand-coloring is much more subjective and less of a documentation.
Allow three class hours, plus processing and printing time, to cover an introductory hand-coloring assignment. In the first hour, spend some time talking about how colors convey moods - the basics of color theory. Then demonstrate how to apply the pigments and explain the tools involved. It is a good idea to show the difference between black and white, color and hand-colored photos and to show samples from previous classes when possible.
Hour 1: Cover how best to shoot and print an image for hand-coloring. Students should over-expose and then process normally in order to get a slightly-light, slightly-flat image.
Hour 2: Have students color their prints. Here, emphasize that the process is supposed to be fun and creative - nothing is a failure and everything teaches.
Hour 3: Spend time turning a critical eye to the final products. Again, there is no failure, but there are lessons to be learned. Consider each photograph in terms of the criteria discussed in the first hour and the students can have a chance to articulate the thinking behind their choices.
You can also turn it into a casual contest where students compete in categories for bragging rights or small prizes. If you decide to exhibit the work, keep in mind that the final images take a day to dry to the touch and a week to dry thoroughly.
Theory: The hand-coloring process forces students to look closely at their photography and to pass judgement on it based on the elements and the tones it contains.
Hand-coloring improves and educates students' visual decision making. It enhances the development of their photographic eye and it is simply fun to do. Hand-coloring can improve their color photography too because students become aware of where colors are in a picture and how they interact with each other.
Assignment: Using your choice of camera and black and white film, submit a hand-colored, 8x10 or larger print. Students must shoot, process and print their own work. Final image will be graded on how well composition, subject matter, print quality, color choice and application combine into an overall aesthetic statement.
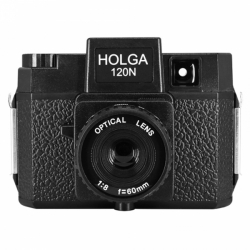
Tools: Any lens or pinhole camera.
Film: Any black and white negative film
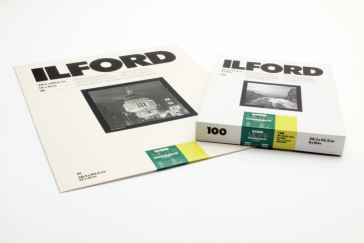
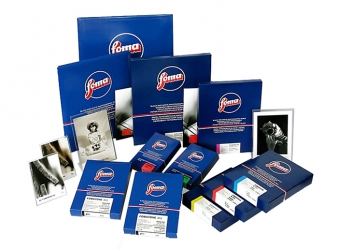
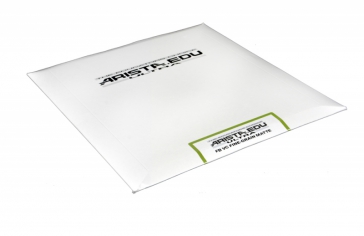
Paper: 8"x10" or larger. Use Ilford MG Classic FB Matte, Fomabrom Variant VC FB Matte, Fomatone VC FB Matte, or any other fiber-base matte paper like Arista EDU Ultra FB VC Fine Grain Matte.
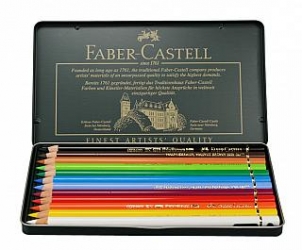
Medium: Student's choice. Faber Castell Polychromos Color Pencils are recommended.
Cameras and Accessories
Black and White Paper
Black and White Paper