
AirPrint is a feature in Apple's iOS and Mac Operating System that allows you to print without installing a printer-specific driver. This can result in your prints coming out too RED or generally off color. It can also result in you not having all of the features of your printer available to you in your printing software.
Don't worry, it wasn't your fault necessarily. Apple loads this driver by default and without your permission or knowledge.
To correct for this issue you first need to go to Epson's Driver and Support download page and download the latest version of the printer driver for your printer. If there is not a version specifically for your version of Mac OS, then simply choose one version older and there will most likely be one listed there.
As of the printing of this article the latest version of print driver for the Epson Surecolor P900 is at this link and is for Mac OS 14. See this link https://epson.com/Support/Printers/Single-Function-Inkjet-Printers/SureColor-Series/Epson-SureColor-P900/s/SPT_C11CH37201?review-filter=macOS+14.x
Download the Drivers and Utilities Combo Package Installer and install the printer driver.
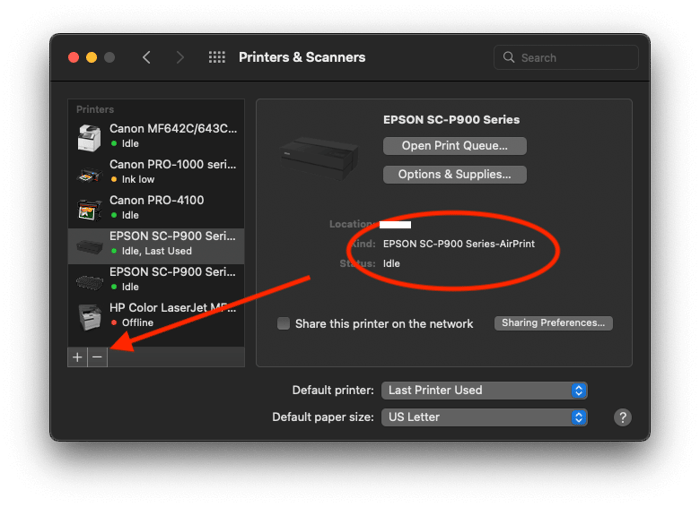
Go to System Settings and then the Printers & Scanners control panel.
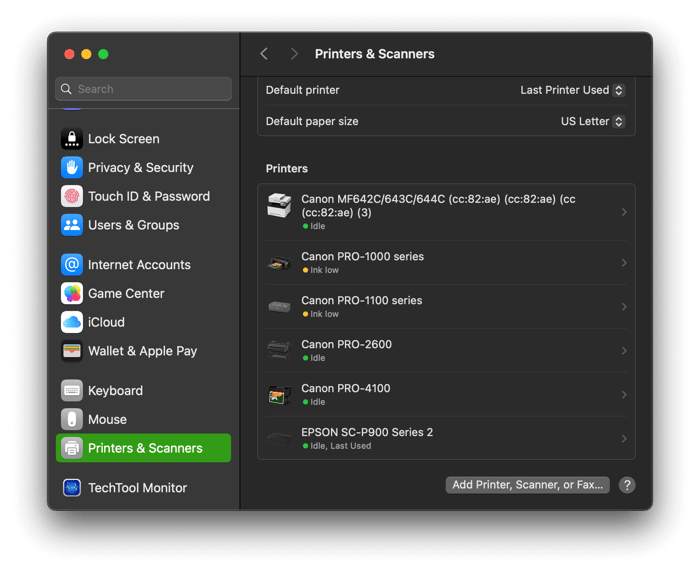
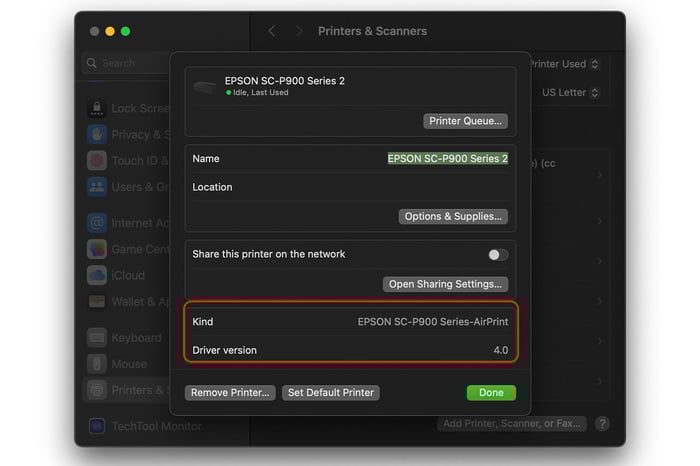
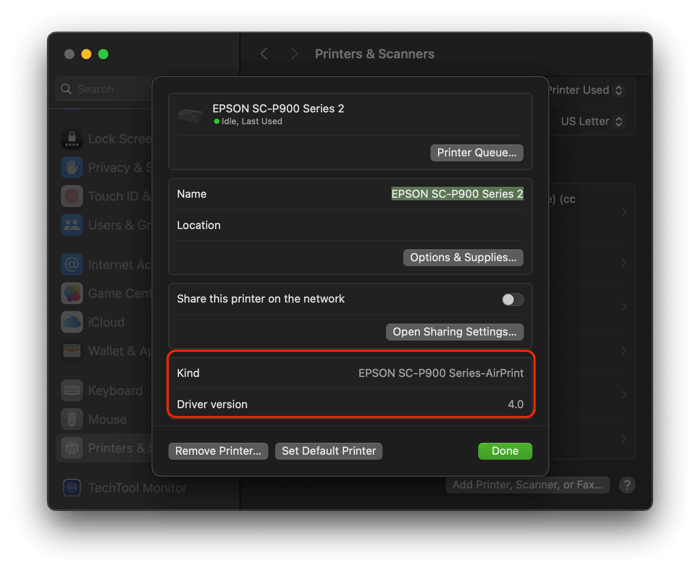
Then click on the driver for you printer and look at how it is listed. In this case I clicked on Epson SC-P900 Series 2 and the next screen looks like this. As you can see under the heading Kind it says that the AirPrint Driver is installed and the Driver Version is 4.0. This is wrong and needs to be corrected.
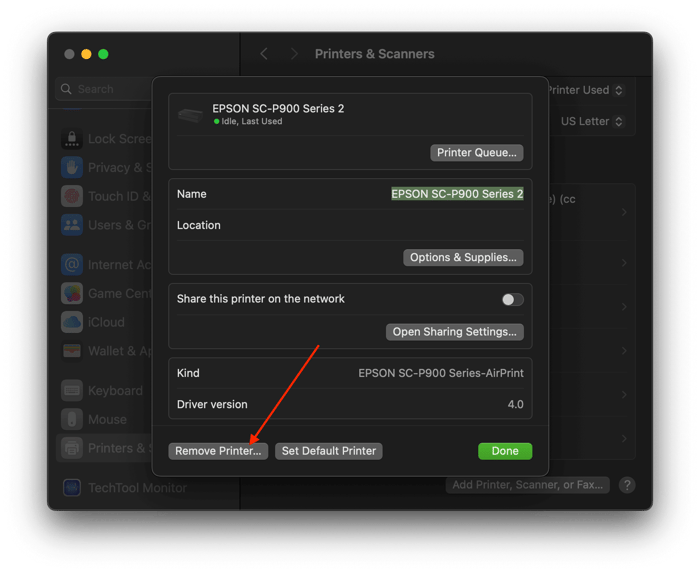
At this point click Remove Printer... and then the Done button.
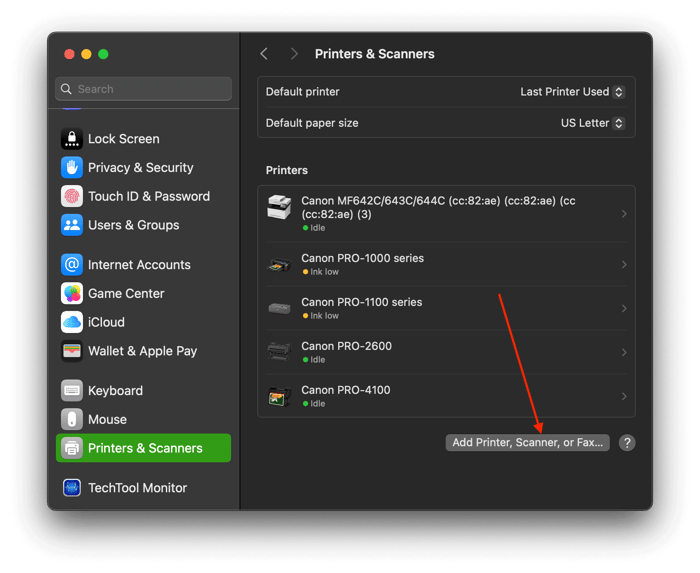
You will come back to this screen. Now click the Add Printer, Scanner, or Fax... button.
You will come to this page and if your printer is connected to your computer via USB it will list your printer as the name of the printer and USB under the "Kind" column. If you are connected via Ethernet or Wi-Fi it will be listed as Bonjour or Epson TCP/IP. I generally select Bonjour but it very much depends on your network.
Now this is the important part!
DO NOT PUSH THE "ADD" BUTTON YET!
If you do you will add the AirPrint driver again!
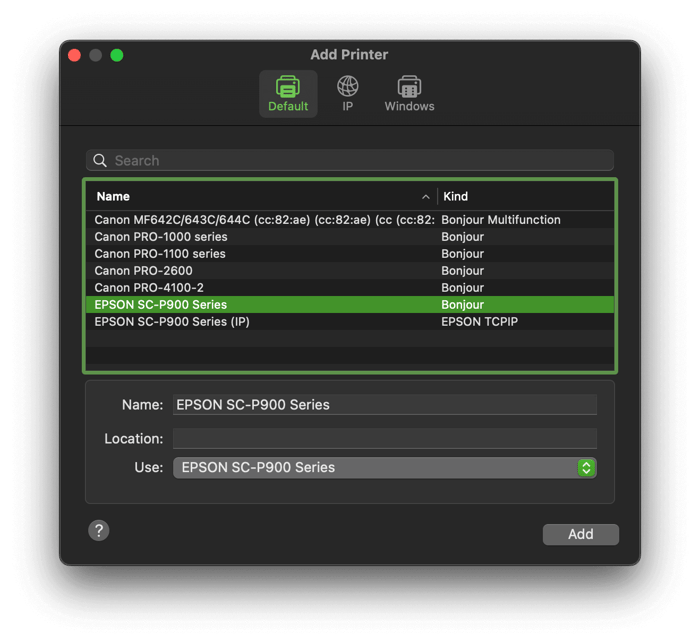
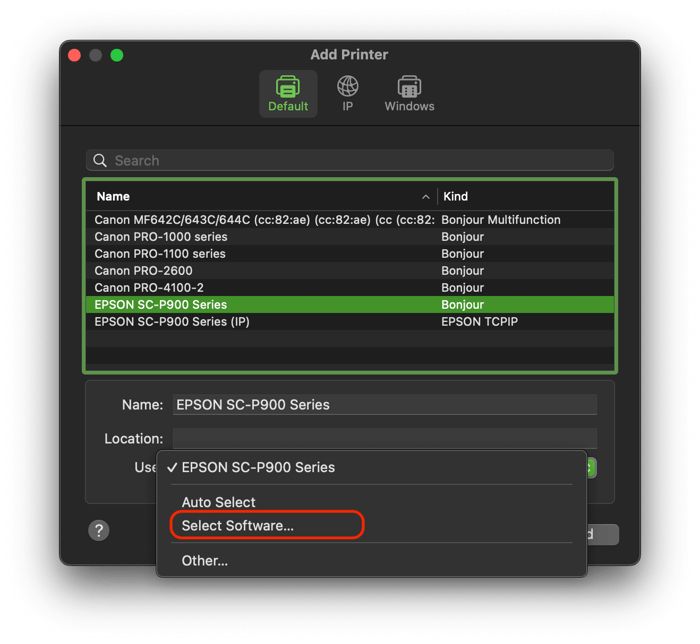
So the tricky part is to now click on the Use: dropdown menu and choose Select Software.
Now choose the specific driver for your printer and click the OK button.
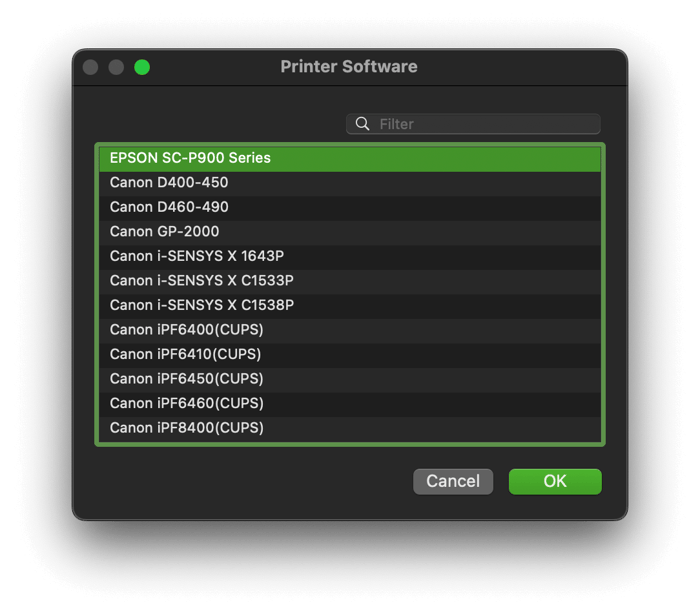
You will come back to this screen again. Now click the Add button and you should be good to go.
If you don’t do this, you will keep on loading the AirPrint driver.
To double check that you've done this properly, go back to your System Settings and check by clicking on the driver you just loaded. The page should look like this and the driver should not say AirPrint and the Driver Version should be a real driver number such as this.
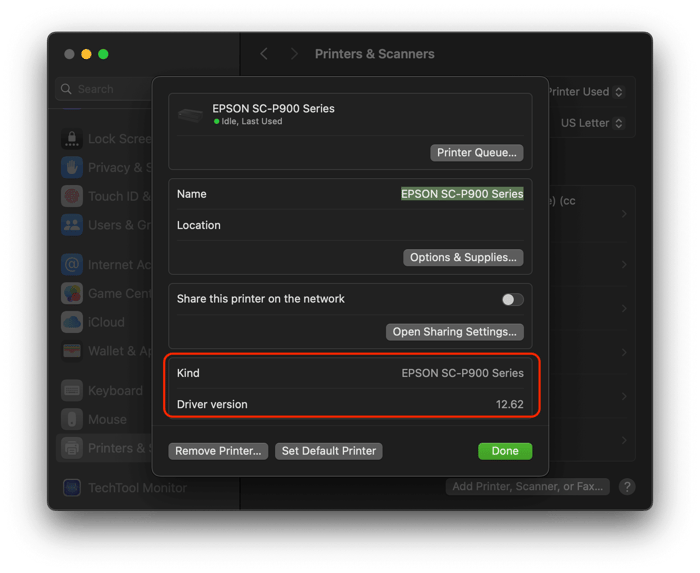
You should also go to Epson’s download and support page and install the latest version of the driver for your printer or run the Epson Software Updater Program. As using an older version of the printer driver can also cause color shifting issues.
I hope this helps.
If you need further assistance, please email me at etjoseph@freestylephoto.com