
A common bug in Canon Professional Print & Layout can occur if the program drops your printer.
This can occur because of a change in the IP address on a network or a change in how the printer is connected to your computer. It can also occur at random on some computers.
The fix is to remap the printer to Canon PPL by adding the printer again, just like you did when you originally installed the program.
The procedure for correcting this error is as follows:
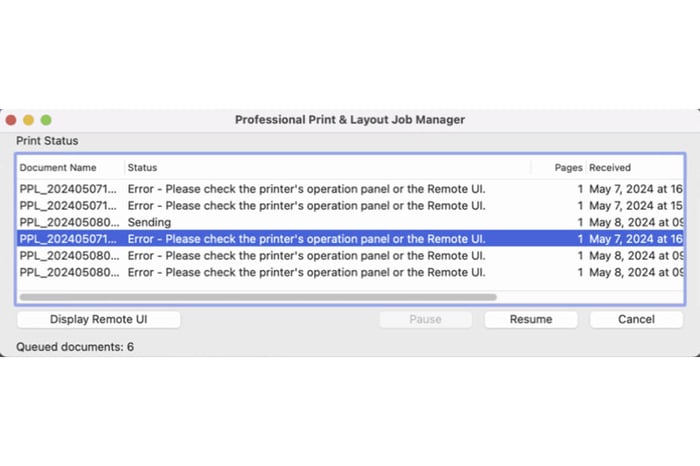
First, you will see your print jobs stalled in the Job Manager program. Clear them out by clicking on the print jobs and clicking on the Cancel Button.

Once all of the print jobs are cleared out, your Job Manager should look like this.

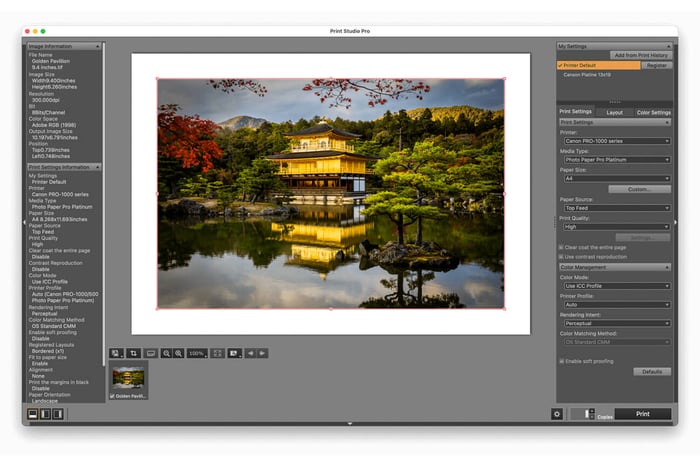
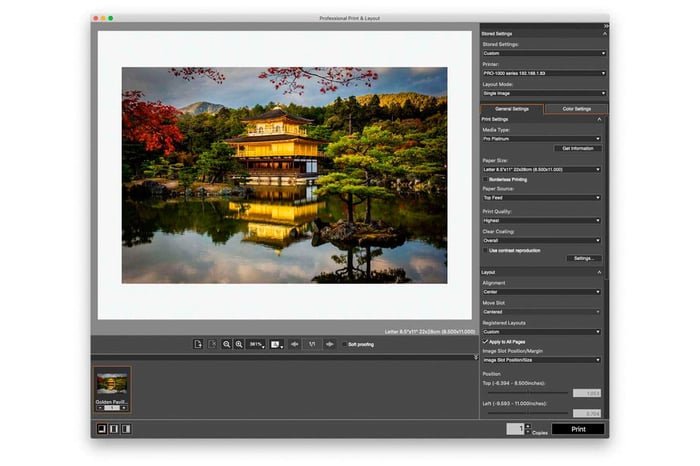
Now go to the Canon Professional Print & Layout Application and click on the drop down menu that says "Printer:" on the right hand side of the program located between the Stored Settings and Layout Mode drop down menus.

Now choose Add Printer.

You will now be brought to this screen. You will see all of your previously mapped printers with their associated IP addresses or they might say USB. Click on the Find Printer button.

The program will now find all of the printers connected to your computer. You will see printers with standard IPV4 IP addresses. These are the ones on my computer that start look like 192.169.1.83. There are also IPV6 IP addresses that are a longer series of letter and numbers. You might even see that you printer is connected via USB. If this procedure does not find your printer, you may have a bad cable, bad cable connection, the printer may not be turned on or there is some other problem we might need to troubleshoot further.
You can click on any of the printers that were found. It doesn't matter if you click on an IPV4 or IPV6 network connection or USB and click OK.

PPL may have to type in your password for your computer at this point. Type in your password and click the OK button.

Canon PPL will now bring over all of the Media Type Settings on your printer and remap the printer to the program.

Your newly added printer will now appear in the drop down menu under the Printer drop down menu. Please select it now.

I would now recommend deleting your old printer so you don't get confused. As illustrated here, I have selected the newly added printer which is at the longer IPV6 network address and I am selecting Delete Printer.

Now click on the printer listing that caused the problem in the first place and click the Delete button. This way you don't get confused in your printer selection in the future.

After deleting the old printer you can click on the OK button and you are now done.

I hope this helps. If you have any further questions please feel free to contact me at etjoseph@freestylephoto.com