
Install Program and Plug-in for Canon Print Studio Pro for use with Adobe Photoshop and Lightroom
Go to this link https://www.usa.canon.com/support
Type in the name of your printer in the Search Bar in the middle of the website page. Wait for the pop up link for you printer and go to the Software and drivers page. You will have to choose the version of your operation system in the drop down menu. Download the latest version of Canon Print Studio Pro which as of today’s day is 2.2.8
Double click on the file mpsp-mac-2_2_8-ea10_3.dmg or whatever the latest version is.
This installer package will open up in a window and double click on it.
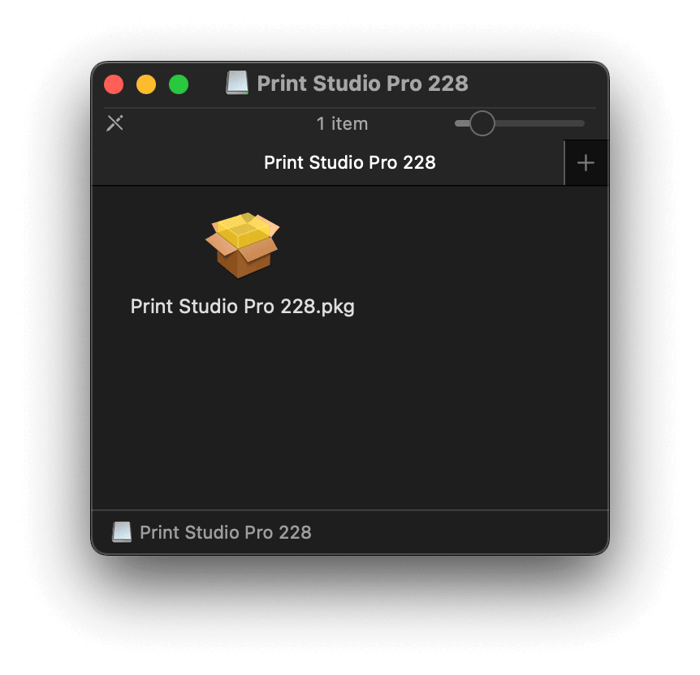
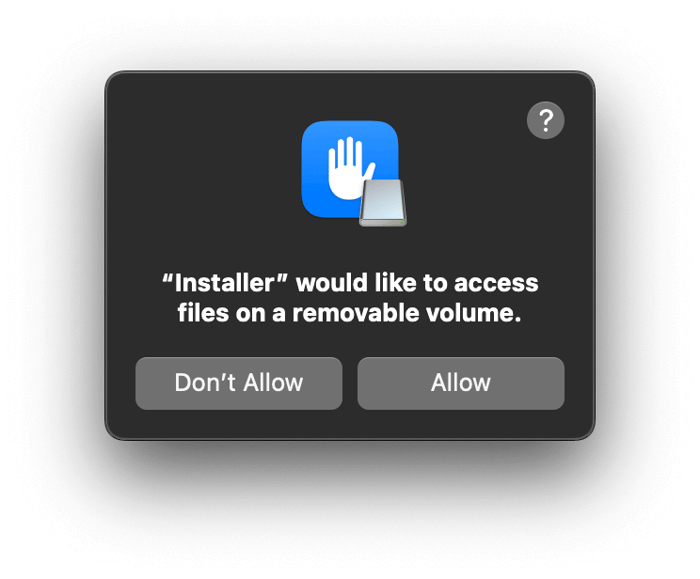
Upon double-clicking that installer package you will very likely see this pop up window.
Click Allow
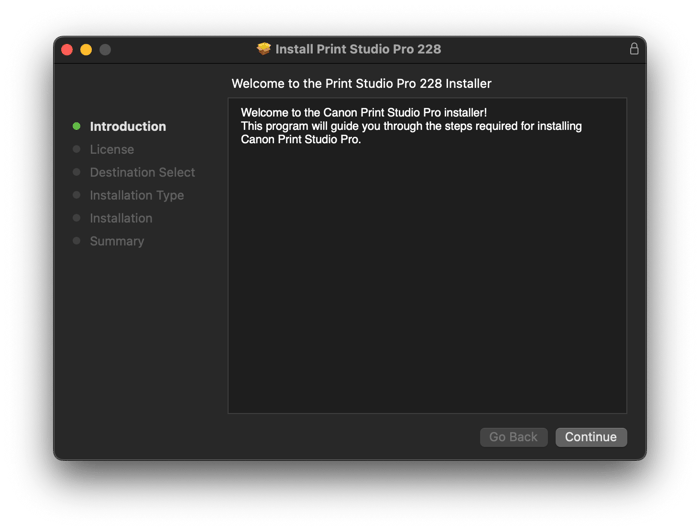
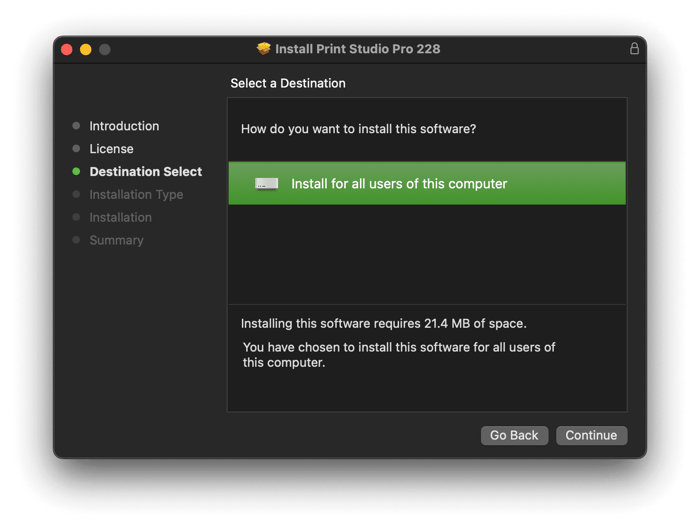
Now you can install Print Studio Pro on to your computer by clicking the Continue button.
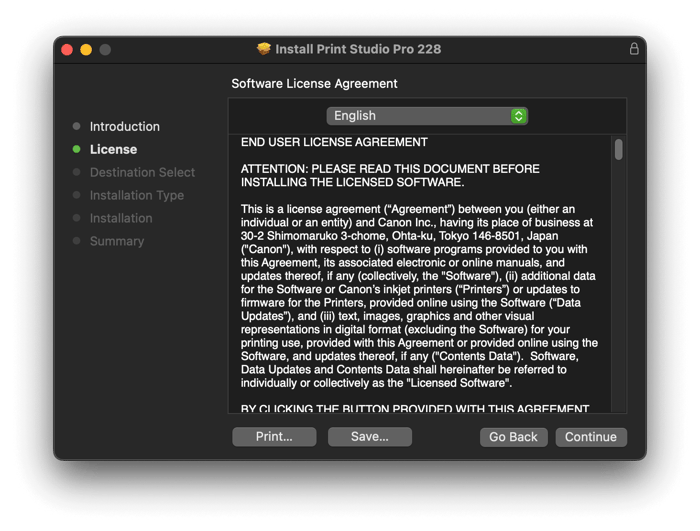
You will now encounter a standard End User License Agreement.
Click the Continue button.
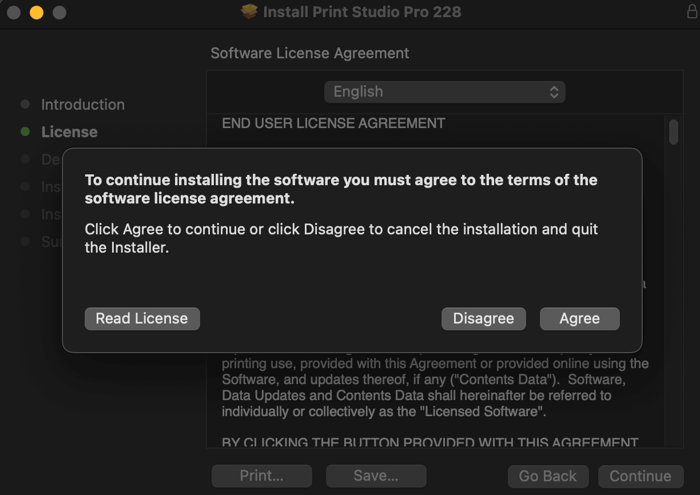
 This window is asking you to agree to the EULA will pop up. Click Agree.
The installer program will ask you if you want to install the program for all users on the computer. Most people would click the Continue button here.
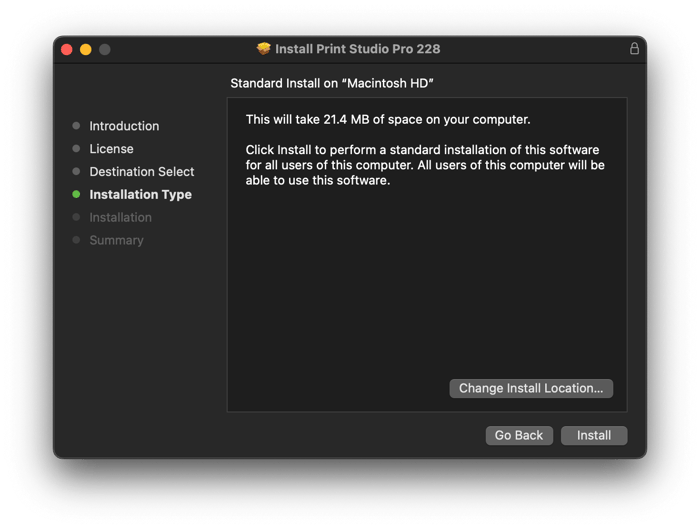
Now you will encounter this Standard Install Window. Push the Install button
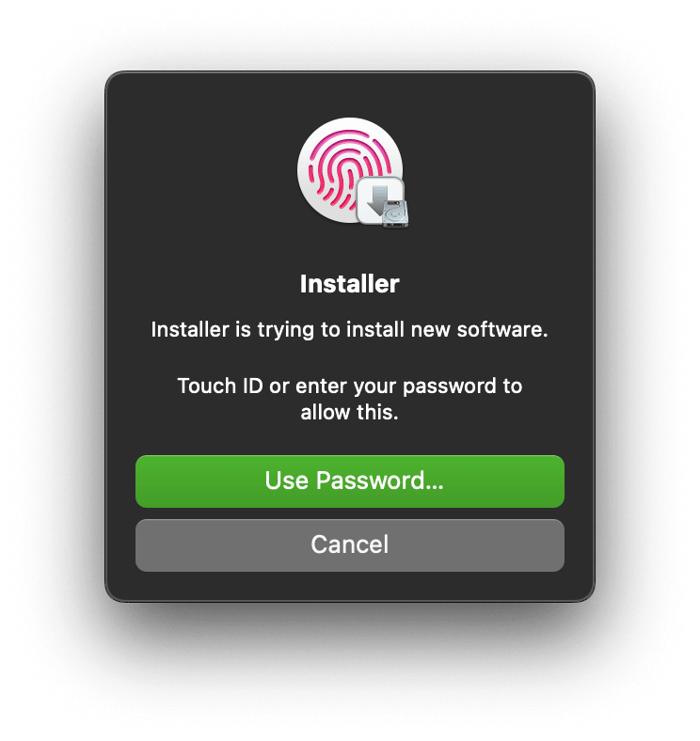
Your computer will now ask for you to input the Password you use to sign on to your computer. You can click on the Use Password button and type it in or use the Touch ID button here.
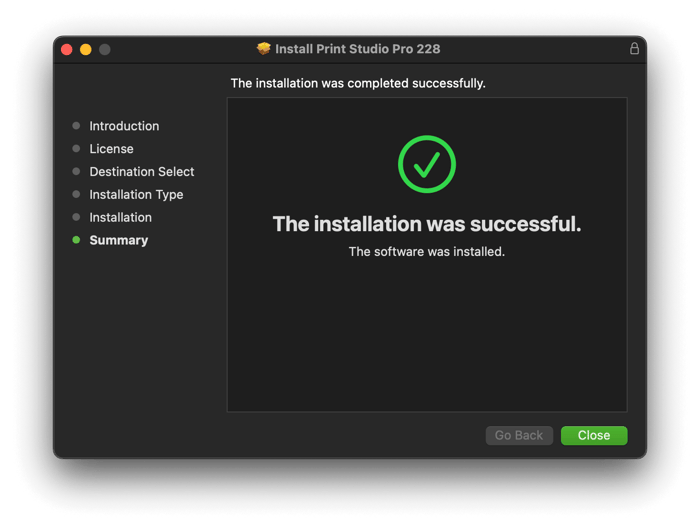
When the installation is complete you will see this window. You are not done yet though. Click the Close button here.
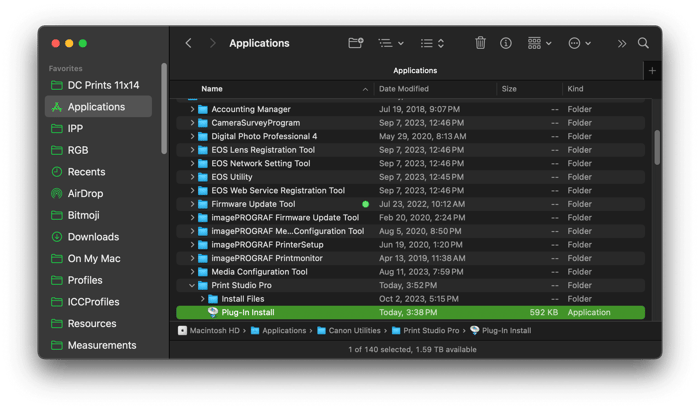
Now navigate to your Applications — Canon Utilities — Print Studio Pro and then Double Click on the icon Plug-In Install.
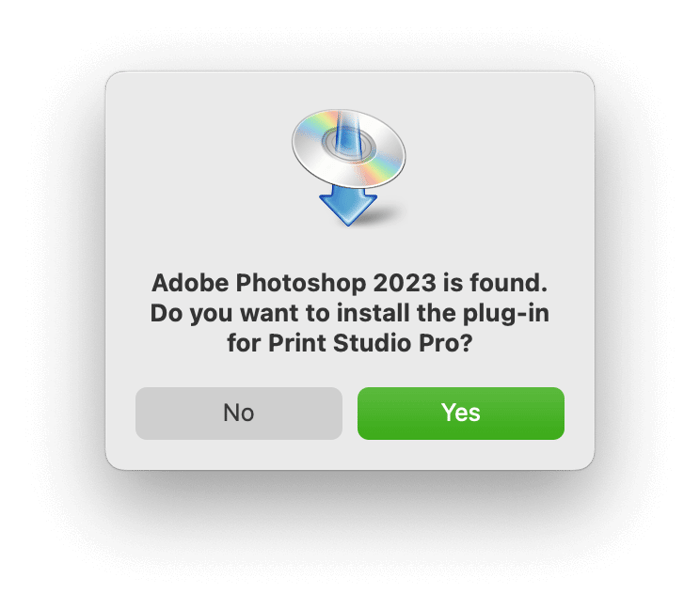
Upon double clicking this Plug-In Installer program, you will see this pop up window that is telling you that it has found the place that Adobe stores the plug-in for Lightroom and is asking you if you want to install it. Click the Yes button. You can now access the Print Studio Pro Plug-In for Lightroom but going to File — Plug-In Extras.

Installing the Plug-In for Photoshop takes one more step.
After clicking Yes on the previous window, the installer will let you know that the place where Adobe Photoshop 2023 or maybe other previous versions was found and is asking if you want to install the Plug-in. If you are using previous versions of Adobe PS click the Yes button. If you are using a newer version of Adobe PS then click the No button.
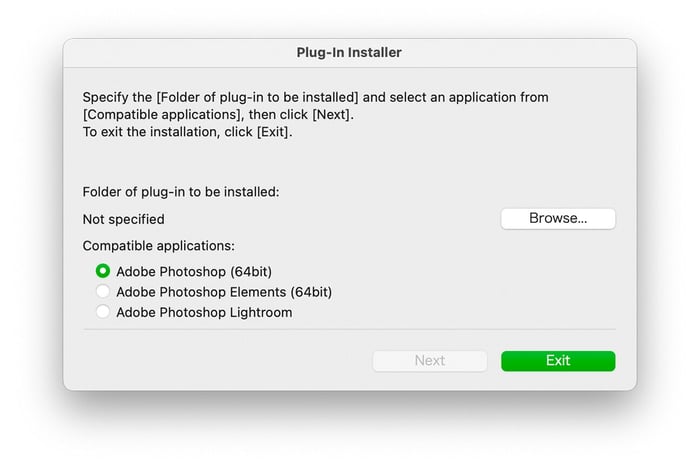
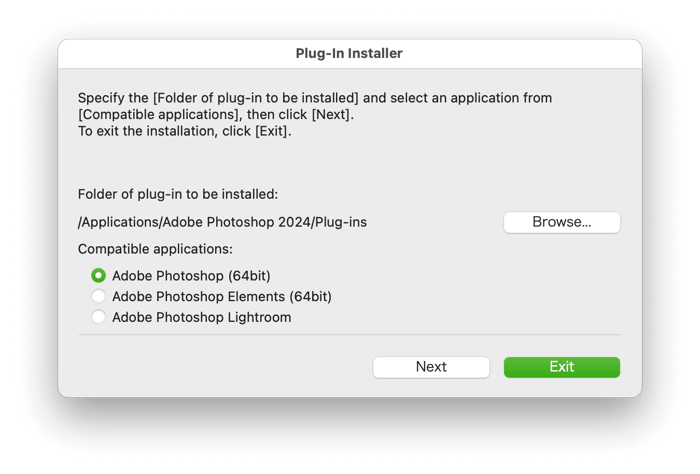
 We now need to find the location of the new Plug-Ins folder for your newer version of Photoshop. You should be on this window now, click the Next button.

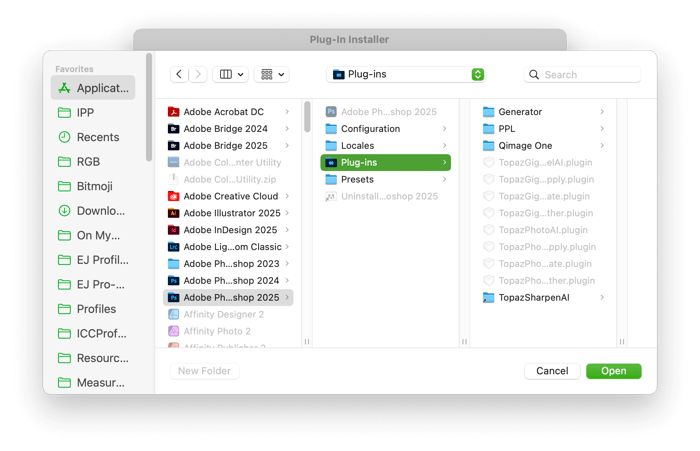
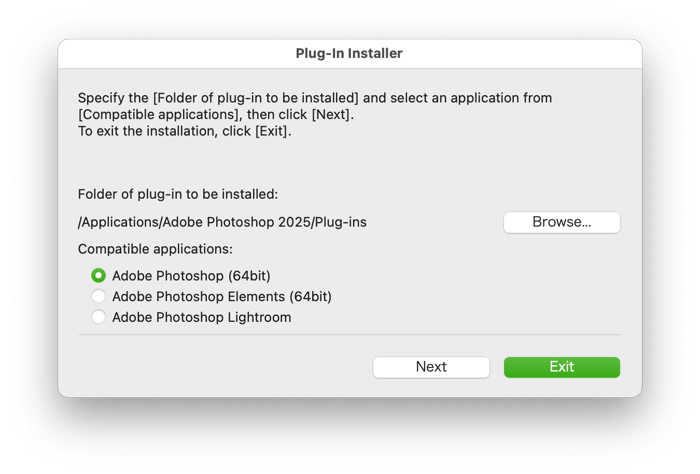
Now we need to Browse for the Plug-Ins folder for you newer version of Adobe PS. Click on the button for Adobe Photoshop 64 bit and click the Browse button.

Find your Plug-Ins folder for Adobe PS which is usually in your Applications — Adobe Photoshop 2025 (for example) — Plug-ins folder. Once you’ve highlighted this folder click the Open button.
You will now be brought back to this screen. Click the Next button here.
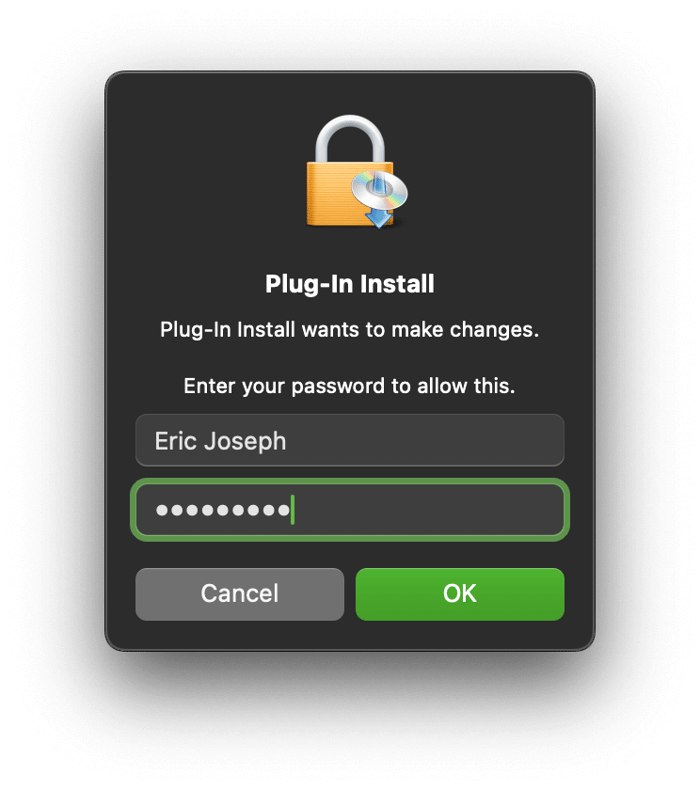
 This window will pop up asking for your Password to your computer. You have to type it in here and click the OK button.
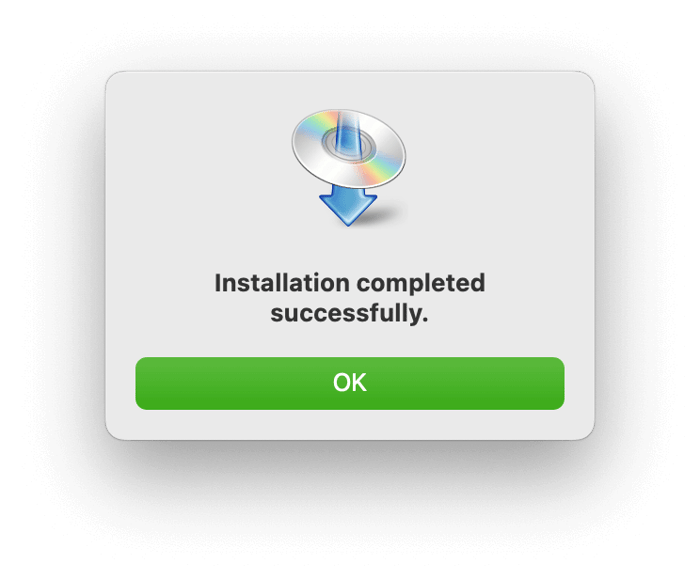
 You will now get another pop up window saying that your Installation competed successfully. Click the OK button.
You will be brought back to this screen where you can now just click the Exit button. The installation is now complete.
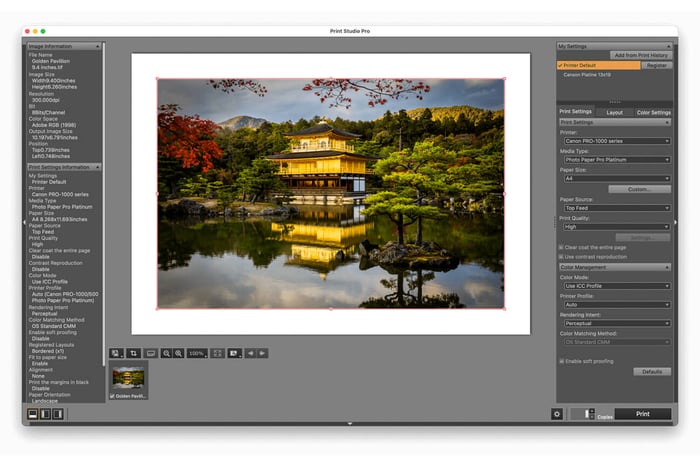
Note: The Canon Print Studio Pro Plug-in can now be accessed from within Adobe Photoshop by going to the File — Automate menu in Photoshop. If you do not see this as an option in your File - Automate menu you have not installed the plug-in correctl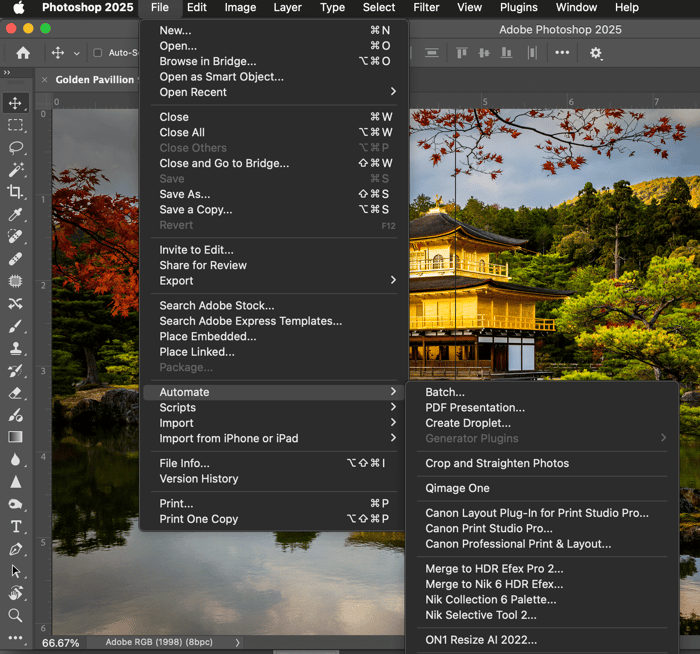
Please contact me at etjoseph@freestylephoto.com if you have any questions.